How To Set Up A Remote IoT Device Behind A Router Using Raspberry Pi
Are you looking for a way to control and monitor your IoT devices remotely while they are located behind a router? Setting up a Raspberry Pi as a remote IoT device can be a game-changer for your projects.
Whether you're a hobbyist or a professional developer, understanding how to configure your Raspberry Pi to work seamlessly with your router is essential for unlocking the full potential of IoT technology. With the right setup, you can access and manage your devices from anywhere in the world, ensuring real-time data collection and control. This guide will walk you through the process step by step, ensuring you have all the tools and knowledge to succeed.
Remote IoT setups are becoming increasingly popular due to their versatility and cost-effectiveness. By using a Raspberry Pi, you can create a powerful IoT hub that communicates with various sensors and devices. This setup allows you to monitor environmental conditions, automate tasks, or even control appliances from afar. However, one of the biggest challenges is configuring the Raspberry Pi to work behind a router, especially when dealing with firewalls and port forwarding. Don't worry—this article will cover everything you need to know to overcome these hurdles and create a secure, efficient system.
With the rise of smart homes and industrial IoT applications, the demand for remote access to IoT devices is higher than ever. A Raspberry Pi is an excellent choice for such projects due to its affordability, flexibility, and community support. In this article, we’ll explore practical examples of how to set up a remote IoT device behind a router using Raspberry Pi, ensuring you have a robust and reliable solution. Whether you’re managing a small home automation project or a large-scale industrial application, the insights provided here will help you get started.
Read also:
Table of Contents
- What is Remote IoT and Why Use Raspberry Pi?
- How Does a Remote IoT Setup Work Behind a Router?
- Steps to Set Up Remote IoT Behind Router Example Raspberry Pi
- What Are the Common Challenges in Remote IoT Setups?
- How to Configure Port Forwarding for Remote IoT Behind Router Example Raspberry Pi?
- Why Is Security Important in Remote IoT Behind Router Example Raspberry Pi?
- What Tools and Software Are Needed for Remote IoT Behind Router Example Raspberry Pi?
- Real-World Applications of Remote IoT Behind Router Example Raspberry Pi
- Troubleshooting Common Issues in Remote IoT Behind Router Example Raspberry Pi
- What Are the Future Trends for Remote IoT Behind Router Example Raspberry Pi?
What is Remote IoT and Why Use Raspberry Pi?
Remote IoT refers to the ability to monitor and control Internet of Things (IoT) devices from a location that is physically distant from the devices themselves. This is achieved by connecting the devices to the internet and using various protocols and tools to communicate with them. Raspberry Pi is a popular choice for remote IoT projects because of its low cost, ease of use, and extensive community support. It can act as a bridge between your IoT devices and the internet, enabling remote access and control.
Using a Raspberry Pi for remote IoT projects offers several advantages. First, it is highly customizable, allowing you to install the software and tools that best suit your needs. Second, it supports a wide range of programming languages, including Python, which is commonly used in IoT applications. Finally, its GPIO pins make it easy to connect to sensors, actuators, and other hardware components, making it a versatile platform for IoT development.
How Does a Remote IoT Setup Work Behind a Router?
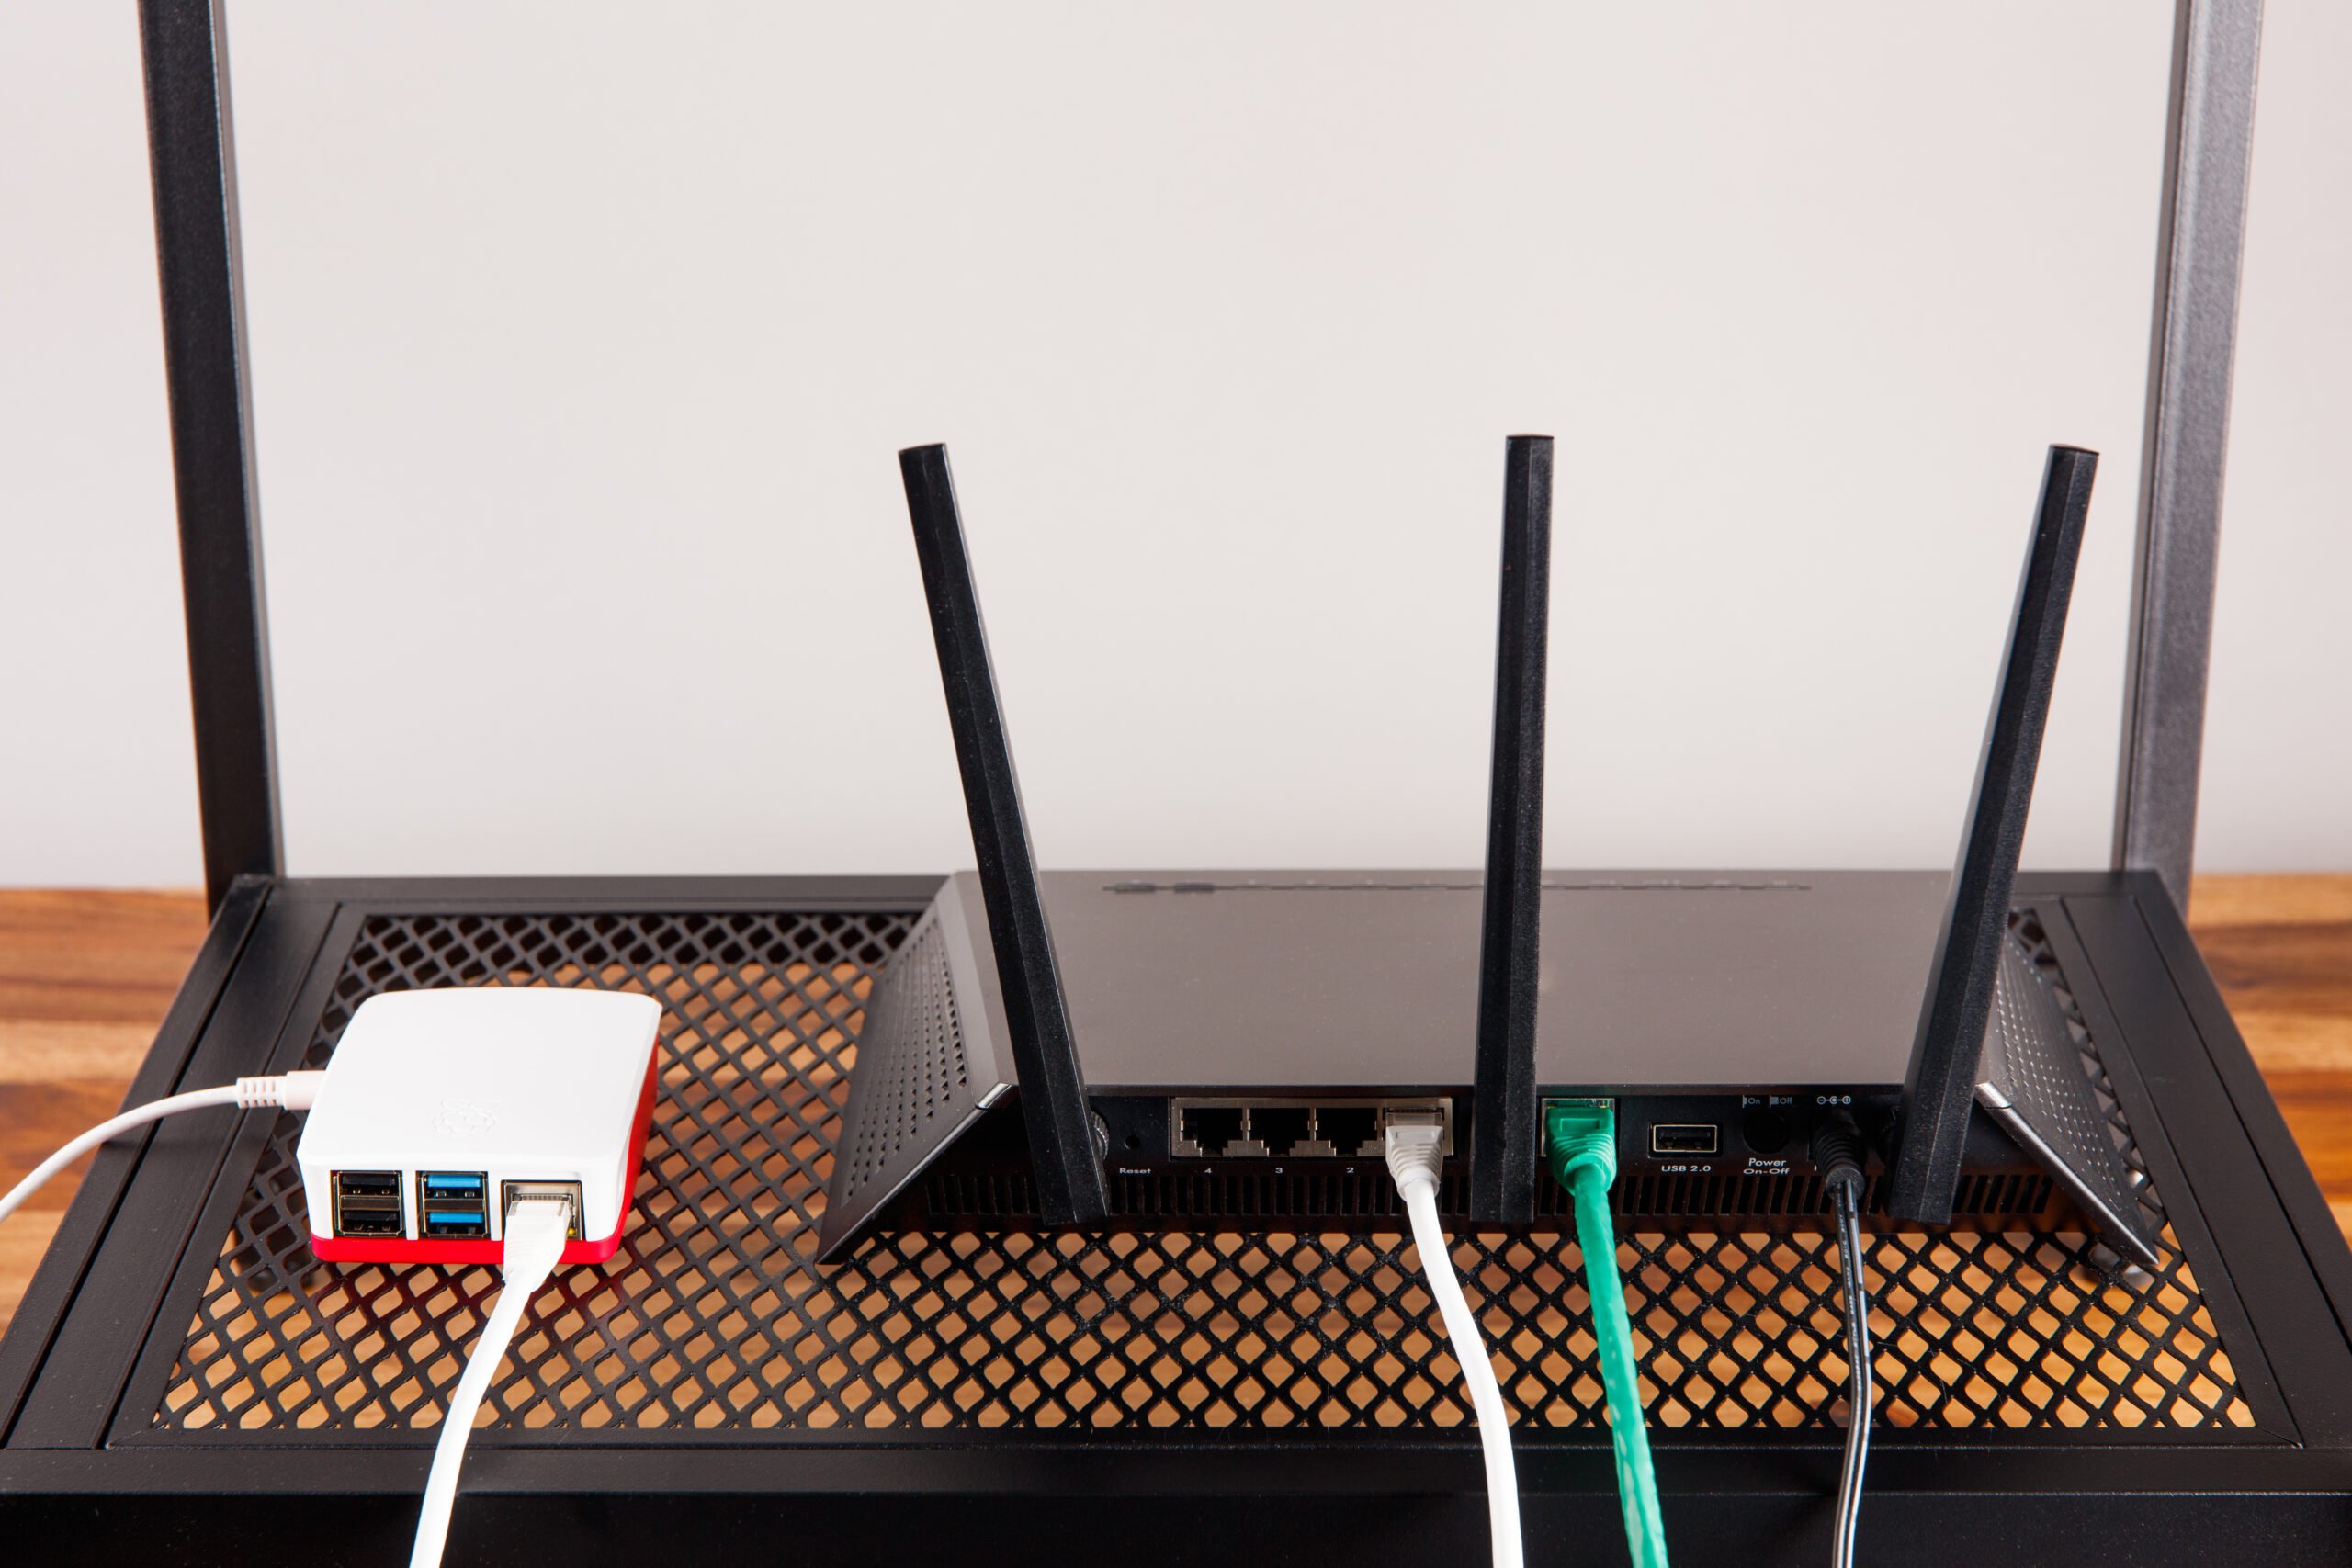
To understand how a remote IoT setup works behind a router, it’s important to grasp the role of the router in this configuration. A router acts as a gateway between your local network and the internet. When you want to access an IoT device remotely, you need to configure the router to allow external connections to reach your Raspberry Pi. This typically involves setting up port forwarding and ensuring that your Raspberry Pi has a static IP address within your local network.
Once the router is configured, the Raspberry Pi can communicate with external devices over the internet. For example, you can use a cloud service or a custom web interface to send commands to the Raspberry Pi, which then interacts with the IoT devices connected to it. This setup allows you to monitor and control your IoT devices from anywhere, as long as you have an internet connection.
Steps to Set Up Remote IoT Behind Router Example Raspberry Pi
Setting up a remote IoT device behind a router using a Raspberry Pi involves several key steps. Below is a detailed guide to help you get started:
- Prepare Your Raspberry Pi: Install the latest version of Raspberry Pi OS and ensure it is updated. You’ll also need to enable SSH for remote access.
- Connect IoT Devices: Use the GPIO pins or USB ports to connect your IoT devices, such as sensors or actuators, to the Raspberry Pi.
- Assign a Static IP Address: Configure your Raspberry Pi to have a static IP address within your local network. This ensures that its address doesn’t change, which is crucial for port forwarding.
- Set Up Port Forwarding: Access your router’s admin panel and configure port forwarding to direct external traffic to your Raspberry Pi’s IP address.
- Test the Connection: Use a tool like PuTTY or an SSH client to test if you can access your Raspberry Pi remotely.
What Are the Common Challenges in Remote IoT Setups?
While setting up a remote IoT device behind a router using Raspberry Pi is relatively straightforward, there are some common challenges you may encounter. One of the most frequent issues is configuring port forwarding correctly. If the router settings are not properly adjusted, external devices won’t be able to reach your Raspberry Pi.
Read also:
Another challenge is ensuring the security of your setup. Exposing your Raspberry Pi to the internet can make it vulnerable to attacks. It’s essential to use strong passwords, enable firewalls, and regularly update your software to mitigate these risks.
How to Configure Port Forwarding for Remote IoT Behind Router Example Raspberry Pi?
Port forwarding is a critical step in setting up a remote IoT device behind a router. Here’s how you can configure it:
- Log in to your router’s admin panel using its IP address (commonly 192.168.1.1).
- Navigate to the port forwarding section, which may be labeled as “Virtual Servers” or “NAT.”
- Create a new rule, specifying the external port, internal port, and the Raspberry Pi’s static IP address.
- Save the settings and restart your router if necessary.
Why Is Security Important in Remote IoT Behind Router Example Raspberry Pi?
Security is a top priority when setting up a remote IoT device behind a router. Without proper precautions, your Raspberry Pi and connected devices could be vulnerable to cyberattacks. Here are some tips to enhance security:
- Use strong, unique passwords for both your Raspberry Pi and router.
- Enable a firewall to block unauthorized access.
- Regularly update your Raspberry Pi OS and installed software.
- Consider using a Virtual Private Network (VPN) for secure remote access.
What Tools and Software Are Needed for Remote IoT Behind Router Example Raspberry Pi?
To set up a remote IoT device behind a router using Raspberry Pi, you’ll need several tools and software. Below is a list of essential components:
- Raspberry Pi: A Raspberry Pi 3 or 4 is recommended for better performance.
- IoT Devices: Sensors, actuators, or other hardware components to connect to the Raspberry Pi.
- Router: A router with port forwarding capabilities.
- Software: Tools like SSH, Python, and MQTT for communication and automation.
Real-World Applications of Remote IoT Behind Router Example Raspberry Pi
Remote IoT setups using Raspberry Pi have numerous real-world applications. For example, in agriculture, farmers can use Raspberry Pi to monitor soil moisture levels and control irrigation systems remotely. In smart homes, users can automate lighting, heating, and security systems using a Raspberry Pi as the central hub.
In industrial settings, Raspberry Pi can be used to monitor machinery and predict maintenance needs, reducing downtime and improving efficiency. These examples demonstrate the versatility and potential of remote IoT setups behind a router using Raspberry Pi.
Troubleshooting Common Issues in Remote IoT Behind Router Example Raspberry Pi
If you encounter issues while setting up your remote IoT device, here are some troubleshooting tips:
- Check your router’s port forwarding settings to ensure they are configured correctly.
- Verify that your Raspberry Pi has a static IP address.
- Test your internet connection to rule out network issues.
- Consult online forums and communities for additional support.
What Are the Future Trends for Remote IoT Behind Router Example Raspberry Pi?
The future of remote IoT setups using Raspberry Pi looks promising. With advancements in 5G technology and edge computing, remote IoT devices will become faster and more efficient. Additionally, the growing adoption of AI and machine learning in IoT applications will enable smarter and more autonomous systems.
As the demand for remote IoT solutions continues to rise, Raspberry Pi will remain a popular choice due to its affordability and versatility. By staying informed about the latest trends and technologies, you can ensure that your remote IoT projects remain cutting-edge and effective.
Article Recommendations