How To Set Up Remote SSH IoT Behind A Router With Raspberry Pi For Free
Setting up remote SSH access for IoT devices behind a router using a Raspberry Pi is easier than you might think.
With the growing popularity of IoT devices, managing and accessing them remotely has become essential for both hobbyists and professionals. Whether you're running a home automation system, monitoring sensors, or experimenting with IoT projects, Raspberry Pi offers an affordable and efficient solution. By leveraging SSH (Secure Shell), you can securely access your IoT devices from anywhere in the world without spending a dime. This guide will walk you through the process step-by-step, ensuring you can establish a reliable connection even when your devices are behind a router.
Many people wonder how they can remotely manage their IoT devices without exposing their network to potential security risks. The answer lies in using SSH combined with Raspberry Pi. SSH provides a secure way to communicate with your devices over the internet, ensuring that your data remains encrypted and protected. Raspberry Pi acts as a bridge between your IoT devices and the internet, allowing you to control them from anywhere. This setup not only enhances convenience but also adds an extra layer of security to your network.
For those unfamiliar with the process, setting up remote SSH access may seem intimidating. However, with the right tools and guidance, you can configure your Raspberry Pi to act as a remote gateway for your IoT devices. This article will cover everything you need to know, from configuring your router to setting up SSH on your Raspberry Pi. By the end, you'll have a fully functional remote SSH system that allows you to manage your IoT devices securely and efficiently.
Read also:
Table of Contents
- What is Remote SSH IoT?
- Why Use Raspberry Pi for Remote SSH IoT?
- How to Set Up Remote SSH Behind a Router?
- Is It Possible to Set Up Remote SSH IoT Behind a Router for Free?
- Step-by-Step Guide to Configure SSH on Raspberry Pi
- Common Issues and How to Resolve Them
- What Are the Security Risks of Remote SSH?
- How to Enhance Security for Remote SSH IoT Behind a Router?
- Tools and Services to Simplify Remote SSH IoT Setup
- Conclusion and Further Resources
What is Remote SSH IoT?
Remote SSH IoT refers to the process of accessing and managing IoT devices remotely using Secure Shell (SSH). SSH is a cryptographic network protocol that allows secure communication between two devices over an unsecured network. When combined with IoT devices, SSH enables users to send commands, retrieve data, and manage configurations without being physically present. This is particularly useful for IoT devices located behind a router, as it allows you to bypass the limitations imposed by NAT (Network Address Translation).
Why Use Raspberry Pi for Remote SSH IoT?
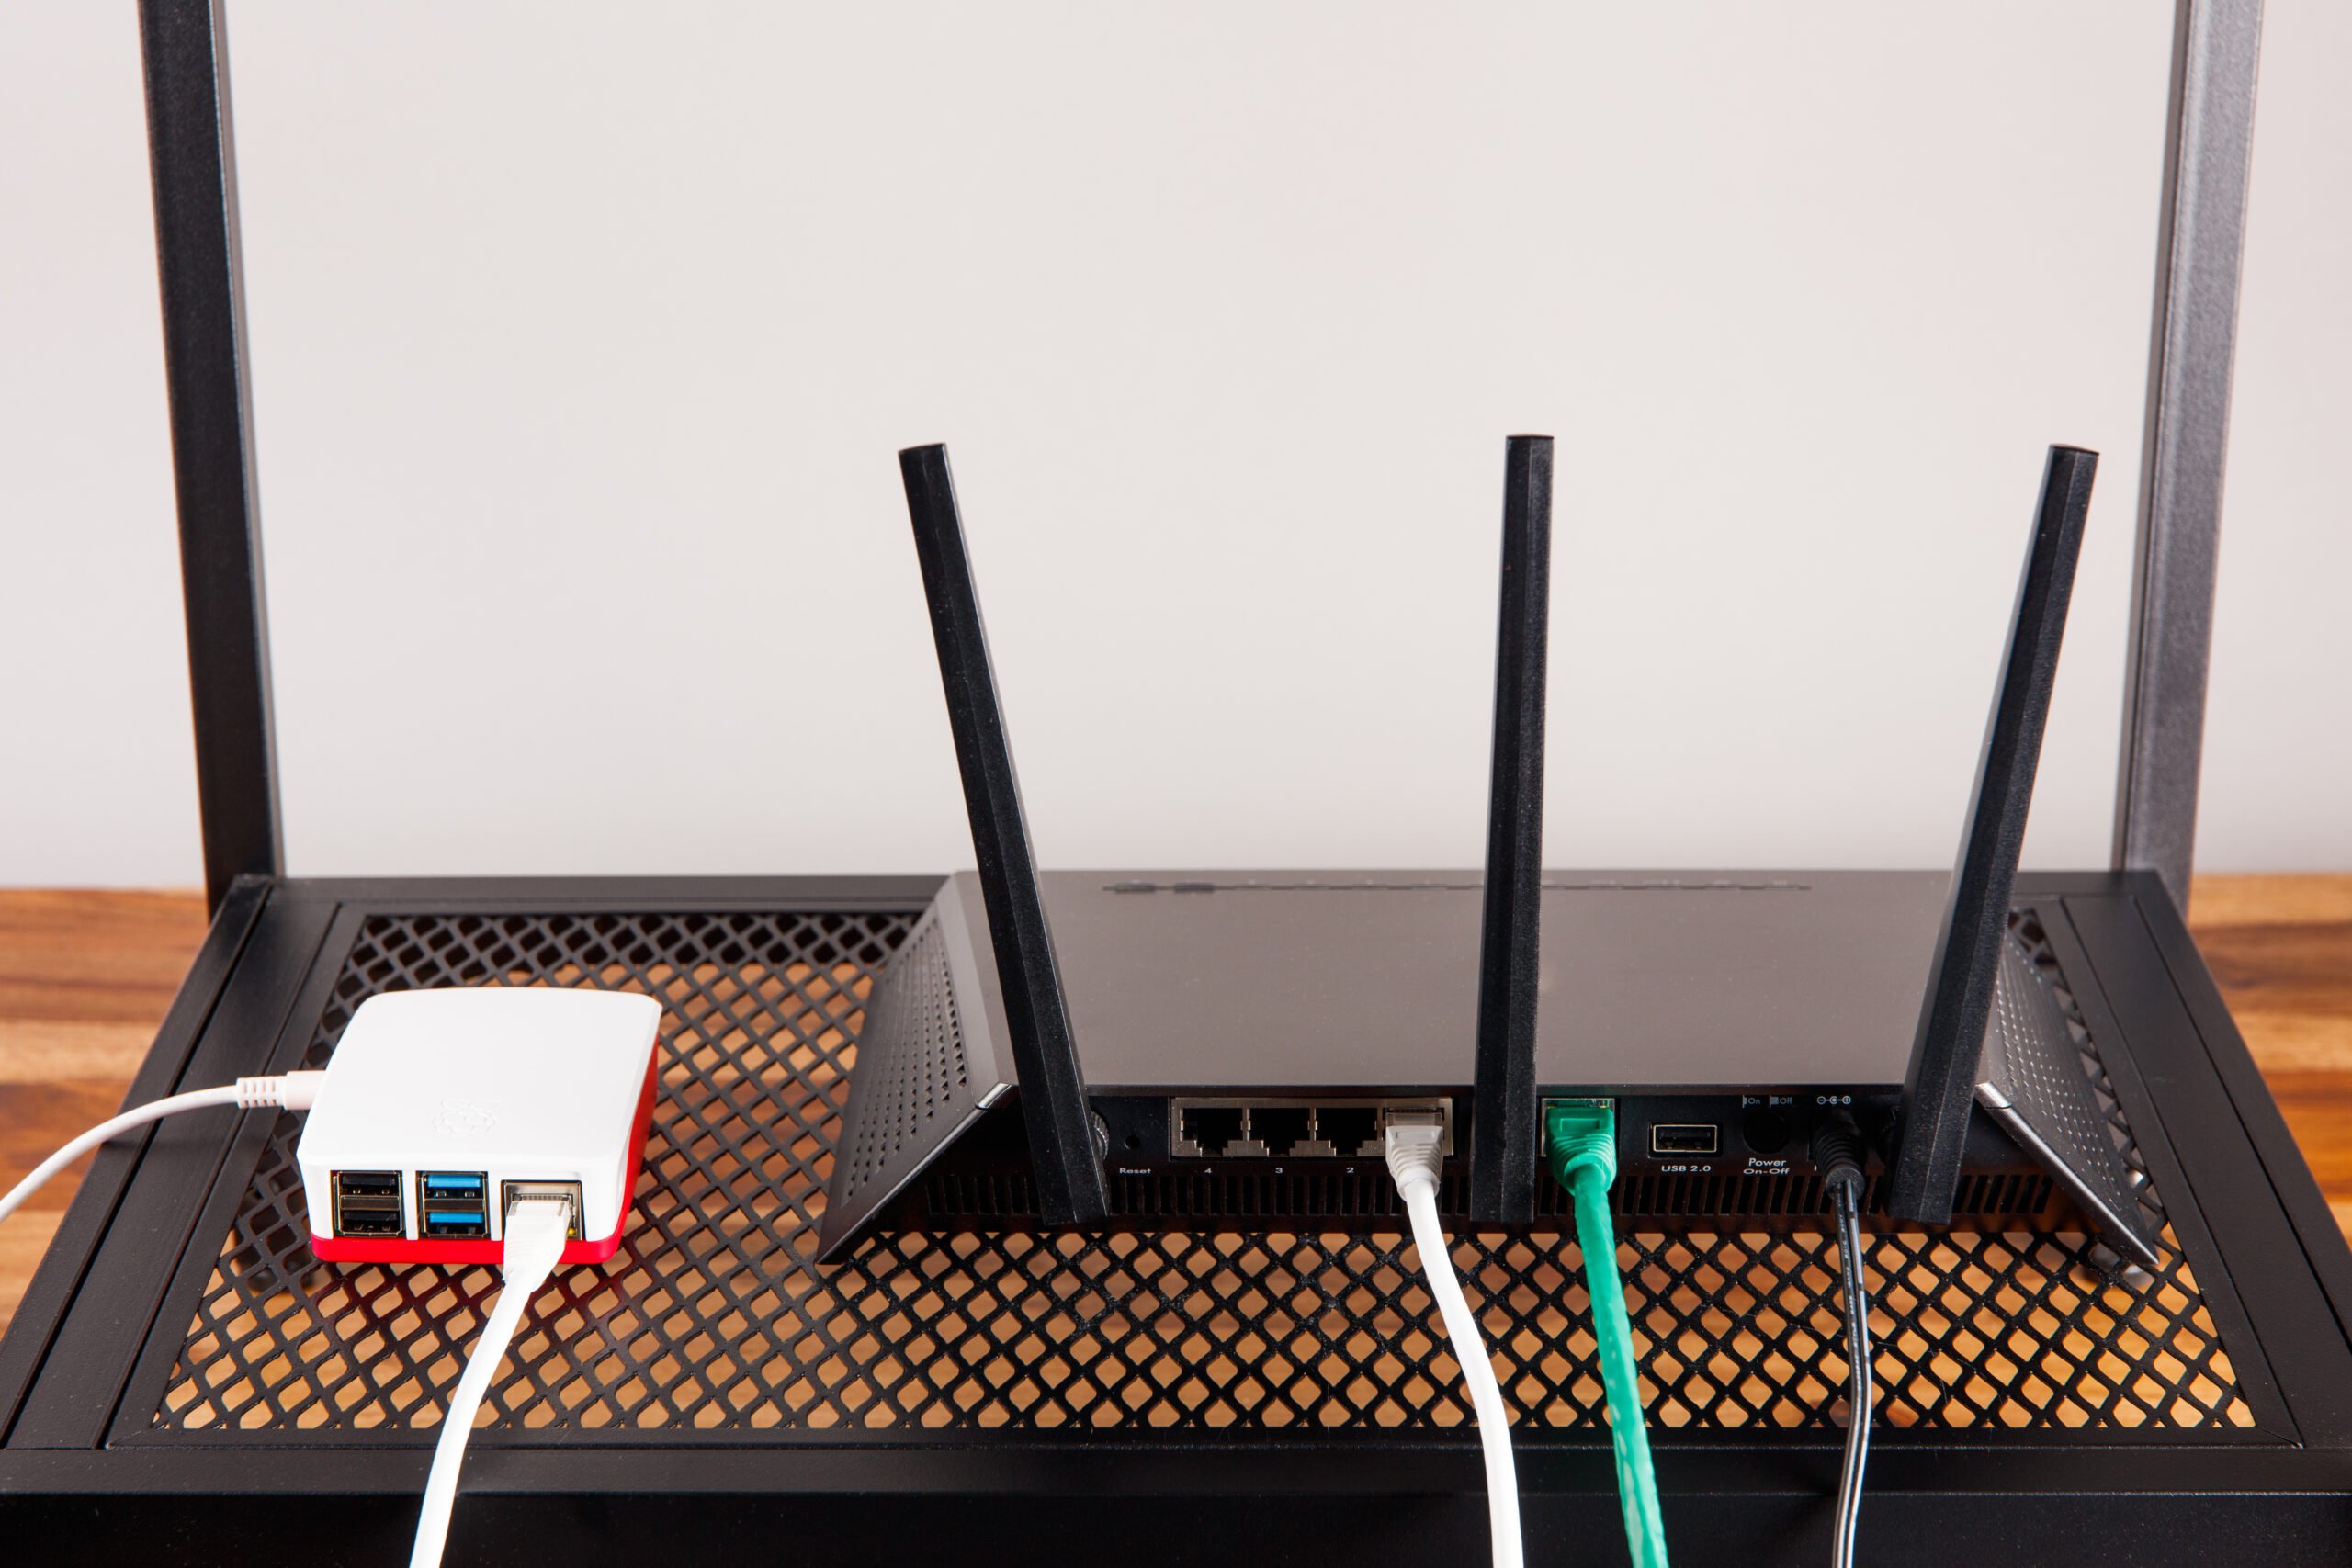
Raspberry Pi is a versatile and cost-effective single-board computer that has become a popular choice for IoT projects. Its small form factor, low power consumption, and compatibility with a wide range of sensors and peripherals make it ideal for remote SSH IoT setups. Additionally, Raspberry Pi supports various operating systems, including Raspbian (now Raspberry Pi OS), which comes with built-in SSH support. This makes it easy to configure and deploy in any environment.
How to Set Up Remote SSH Behind a Router?
Setting up remote SSH access for IoT devices behind a router involves several steps. First, you need to configure your router to forward incoming SSH traffic to your Raspberry Pi. This process, known as port forwarding, allows external devices to communicate with your Raspberry Pi. Next, you'll need to enable SSH on your Raspberry Pi and ensure it has a static IP address. Finally, you can use a dynamic DNS service or a free tunneling service to access your Raspberry Pi from the internet.
Is It Possible to Set Up Remote SSH IoT Behind a Router for Free?
Yes, it is entirely possible to set up remote SSH IoT behind a router for free. Many tools and services are available that allow you to achieve this without spending a dime. For example, you can use free tunneling services like ngrok or localtunnel to expose your Raspberry Pi to the internet. These services create a secure tunnel between your Raspberry Pi and the internet, enabling you to access it remotely. Additionally, you can use free dynamic DNS services to assign a domain name to your Raspberry Pi, making it easier to connect.
Step-by-Step Guide to Configure SSH on Raspberry Pi
Here's a step-by-step guide to help you configure SSH on your Raspberry Pi:
- Enable SSH on Raspberry Pi: Open the Raspberry Pi configuration tool and enable SSH under the "Interfaces" tab.
- Set a Static IP Address: Configure your Raspberry Pi to use a static IP address to ensure it remains accessible.
- Configure Port Forwarding on Your Router: Log in to your router's admin panel and forward port 22 to your Raspberry Pi's IP address.
- Install a Tunneling Service: Use a free service like ngrok or localtunnel to create a secure tunnel to your Raspberry Pi.
- Test Your Connection: Use an SSH client to connect to your Raspberry Pi from an external network.
Common Issues and How to Resolve Them
While setting up remote SSH IoT behind a router, you may encounter some common issues. These include:
Read also:
- Port Forwarding Not Working: Double-check your router's configuration and ensure the correct port is forwarded.
- Dynamic IP Changes: Use a static IP address or a dynamic DNS service to avoid connectivity issues.
- Firewall Restrictions: Ensure your firewall allows incoming SSH traffic on port 22.
What Are the Security Risks of Remote SSH?
While remote SSH IoT behind a router is convenient, it also comes with potential security risks. Exposing your Raspberry Pi to the internet can make it vulnerable to brute-force attacks and unauthorized access. To mitigate these risks, it's essential to follow best practices such as using strong passwords, disabling root login, and enabling key-based authentication.
How to Enhance Security for Remote SSH IoT Behind a Router?
To enhance security for your remote SSH setup, consider implementing the following measures:
- Use Key-Based Authentication: Replace password-based login with SSH keys for added security.
- Change the Default SSH Port: Switch from port 22 to a non-standard port to reduce the risk of automated attacks.
- Enable a Firewall: Use a firewall to restrict access to your Raspberry Pi and block unauthorized traffic.
- Regularly Update Your System: Keep your Raspberry Pi's operating system and software up to date to patch vulnerabilities.
Tools and Services to Simplify Remote SSH IoT Setup
Several tools and services can simplify the process of setting up remote SSH IoT behind a router. Some popular options include:
- ngrok: A free tunneling service that creates a secure connection to your Raspberry Pi.
- localtunnel: Another free tool that exposes your Raspberry Pi to the internet.
- No-IP: A free dynamic DNS service that assigns a domain name to your Raspberry Pi.
Conclusion and Further Resources
Setting up remote SSH IoT behind a router using a Raspberry Pi is a cost-effective and secure way to manage your IoT devices from anywhere. By following the steps outlined in this guide, you can create a reliable remote SSH connection without spending a dime. Remember to prioritize security by using strong passwords, enabling key-based authentication, and keeping your system updated. For further resources, consider exploring online tutorials, community forums, and official Raspberry Pi documentation to deepen your knowledge and enhance your setup.
Article Recommendations